
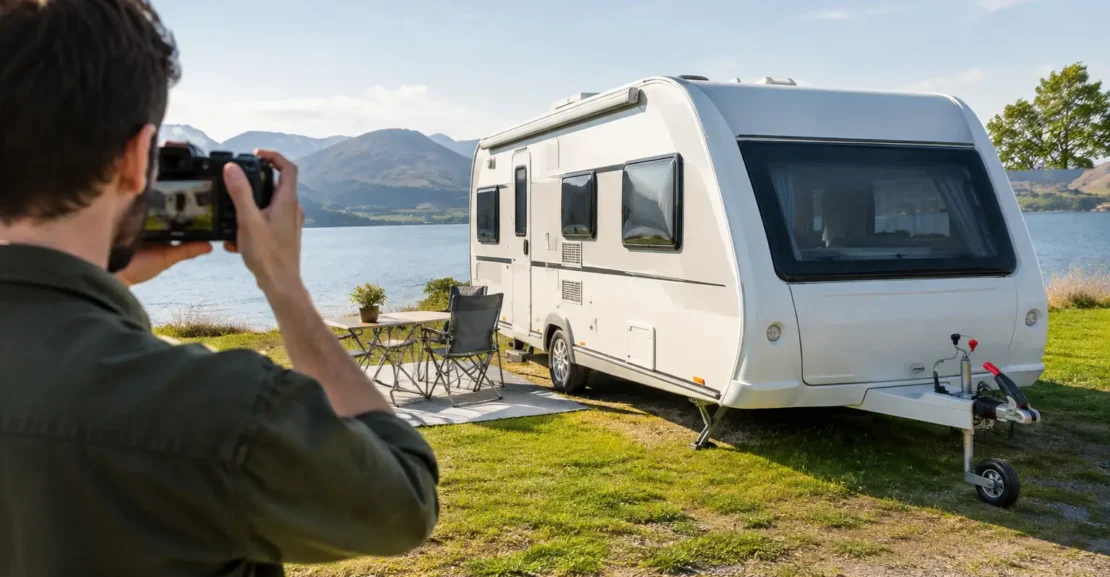
A caravan can be well built, beautifully maintained and priced fairly, yet still be overlooked if the photos make it feel dark, cramped or uncared for. Knowing how to photograph a caravan properly is one of the simplest ways to attract serious buyers before they have even picked up the phone. Good images set realistic expectations, show the value in the vehicle and give buyers confidence that there is nothing being hidden.
You do not need a professional camera or a studio setup. A clean caravan, a modern mobile and a little planning will usually produce the clear, honest images buyers want to see. The goal is not to make the caravan look like something it is not. It is to show its condition, layout and features at their best.
Prepare the caravan before taking photos
The camera notices what people can overlook in person. A half-full rubbish bin, loose charging cables, wet towels or a crowded benchtop can make an otherwise tidy caravan appear neglected. Start with a proper clean inside and out, including windows, mirrors, wheels, exterior storage lockers and the awning.
Inside, remove personal items where possible. Clear the kitchen bench, dining table and floor, make up the beds neatly, and put away toiletries and clothing. You do not need to strip out every sign of life, but buyers need enough visual space to picture their own trips away in the caravan.
Pay attention to small presentation details. Straighten cushions, open blinds evenly and replace any blown interior light bulbs. If there is a small repair you have been putting off, such as a loose cupboard latch or worn sealant around a hatch, it may be worth addressing before photography. A minor issue can look larger in a close-up image and create doubt about general maintenance.
Choose a simple location with room around the caravan. A level driveway, quiet parking area or open yard works well. Avoid placing it against a fence, hedge or another vehicle where buyers cannot see the full profile. If the caravan is parked on grass, ensure it is dry and not surrounded by muddy wheel tracks.
Choose light that flatters, without hiding condition
For exterior shots, a bright but overcast day is often ideal. Cloud cover softens harsh shadows and helps preserve detail in white caravan panels. Direct midday sun can create strong reflections on windows and aluminium surfaces, while early morning or late-afternoon sun can give the exterior a warmer, more inviting look.
If you photograph in sunshine, keep the sun behind or slightly to one side of you rather than directly in front of the camera. This helps avoid silhouetting the caravan. Check your images as you go, particularly around windows and the front storage area, where reflections can obscure features.
For interior photos, use natural light first. Open curtains, blinds and roof hatches, then switch on the caravan’s interior lights to brighten darker corners. This is especially useful in bathrooms, wardrobes and rear bedrooms. Avoid using your mobile’s flash if possible. Flash tends to create harsh pools of light, shiny surfaces and an uninviting look.
It is tempting to edit images until every surface is brighter and whiter than reality. Light adjustments are fine, but heavy filters can backfire. Buyers who arrive to find a noticeably darker or more worn caravan than the photos suggested are unlikely to feel comfortable proceeding.
How to photograph a caravan exterior
Start with the photos a buyer uses to decide whether to enquire: a clear front three-quarter view, rear three-quarter view and full side profile. Stand far enough back to fit the whole caravan in the frame without distorting its shape. On a mobile, use the standard lens rather than the ultra-wide lens, which can make the front look oversized and the body appear bent.
Take exterior photos from roughly chest height. Shooting too low makes the caravan loom over the viewer, while shooting too high can hide the drawbar, wheels and lower storage areas. Walk around it slowly and look for the angles that show its proportions clearly.
Photograph the key practical features as well as the overall appearance. Depending on the caravan, these may include the drawbar and coupling, front boot, awning, external picnic table, entry door, windows, external shower point, gas bottle setup, solar panels, reversing camera and any external storage compartments. Open lockers only when they are clean and useful to show.
Do not forget the tyres and wheels. A sharp photo of each side is reassuring, particularly where tyres appear well cared for. If there is visible cosmetic damage, take a clear image of it rather than hoping it will go unnoticed. Straightforward disclosure saves time and helps establish trust with genuine buyers.
Show the awning in use where practical
An extended awning can help a caravan feel ready for holiday use and gives buyers a better sense of outdoor living space. Photograph it only if the fabric is clean, dry and correctly tensioned. If it is difficult to set up or the weather is windy, a tidy packed-away awning is better than a poor presentation.
Photograph the interior in the order a buyer would view it
Interior images should help someone understand the layout without needing to visit immediately. Begin at the entry and take a wide shot that shows the main living area. Then move through the caravan in a logical order: lounge or dinette, kitchen, bedroom, bathroom and storage. This makes the listing easier to follow and reduces basic questions about where everything sits.
Stand in doorways or corners to create space, but make sure your body and mobile are not visible in mirrors, glossy splashbacks or the microwave door. Take a few versions of each photo and choose the clearest one later.
Wide shots are valuable, but close details matter too. Include the cooktop and oven, fridge, heating controls, air-conditioning unit, control panel, bathroom shower and toilet, sleeping areas and any particularly useful storage. If the dinette converts to a bed, photograph both configurations if it can be done neatly. Buyers are often comparing sleeping capacity, storage and self-containment features across several caravans.
Keep cupboard doors closed for the wide layout photos. Then add selected images of storage that genuinely demonstrate capacity, such as a pantry, wardrobe, under-bed storage or tunnel boot. A photo of an untidy cupboard rarely adds value.
Include the details serious buyers look for
Lifestyle photos create interest, but the practical details help turn interest into an inspection. Make sure the image set answers the questions an experienced caravan buyer will ask about condition, specification and suitability for New Zealand touring.
Useful detail shots may include:
- the compliance plate and VIN details, with sensitive personal information protected where needed
- tyre condition and wheel setup
- battery, solar and charging equipment
- gas bottles and fittings
- water tanks, waste outlets and external connections
- control panels, heating and hot-water systems
- signs of servicing, manuals or maintenance records
Not every caravan has every feature, and there is no value in photographing equipment that is not included in the sale. Accuracy matters more than quantity. If an appliance, accessory or system is not working, say so clearly in the listing and be ready to discuss it with prospective buyers.
Keep your photos honest and useful
A strong listing generally needs enough images to show the caravan from every meaningful angle, without repeating almost identical shots. For many caravans, 20 to 35 carefully selected photos is a sensible range. More may be justified for a high-spec model with extensive equipment, while fewer can work for a compact, straightforward caravan if each image is purposeful.
Before uploading, review the photos on a larger screen if you can. Look for blurry images, dirty windows, distracting backgrounds and accidental reflections. Crop lightly to improve composition, but avoid cropping out the drawbar, wheels or roofline in a way that leaves buyers guessing about the full vehicle.
The best caravan photography respects a buyer’s time. It shows the appealing parts, but it also offers enough clarity for someone to decide whether the caravan suits their travel plans, tow vehicle and budget. That makes inspections more productive and negotiations more straightforward.
If you are unsure which features deserve the most attention, a broker who understands the model and buyer market can provide useful guidance. At RVfinders, clear presentation is part of helping the right buyer see the real value of a well-kept caravan – and helping sellers move forward with confidence.