
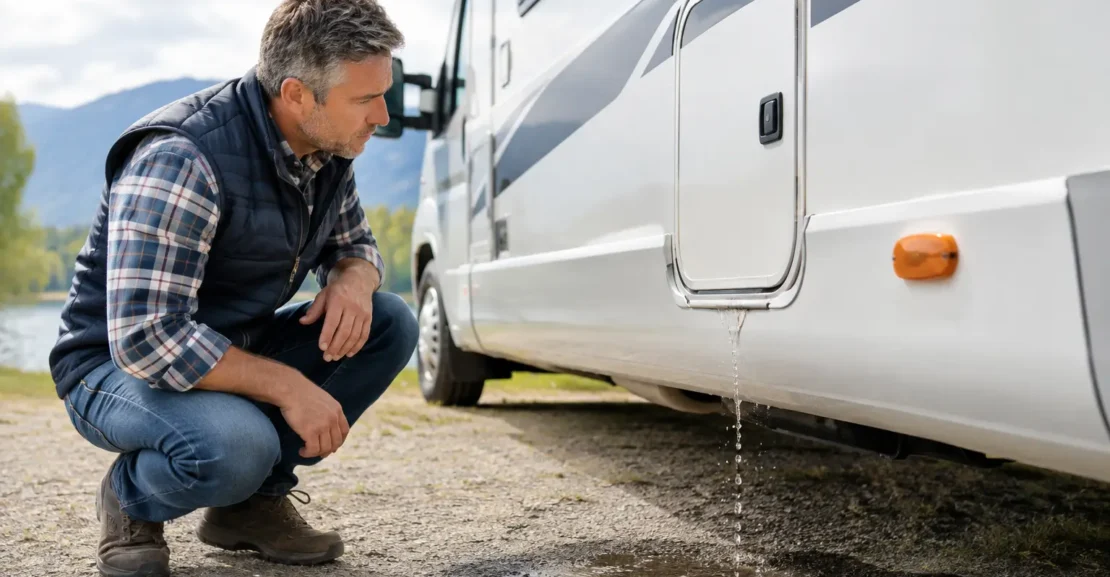
A small brown mark near an overhead locker can be easy to dismiss after a wet weekend away. In a motorhome, though, that mark may be the first visible clue of a much older problem. Motorhome leak causes are rarely dramatic at the beginning. Water often enters slowly, travels along framing or wiring, and shows itself somewhere well away from the actual entry point.
For New Zealand owners, the combination of heavy rain, coastal air, strong UV and long periods parked up can be particularly demanding on seals and exterior fittings. Catching moisture early protects more than interior finishes. It can help preserve the vehicle’s safety, usability and resale value.
Why leaks need early attention
Motorhomes are made from many joined surfaces: roof panels, windows, service hatches, skylights, vents and body mouldings. Each join depends on sealant, gaskets, fasteners or a combination of all three. These materials age at different rates, especially where a vehicle is exposed to sunlight and changing temperatures.
The concern is not simply water on the floor. Persistent damp can soften timber framing, damage insulation, corrode wiring and create mould in concealed spaces. Repairs may be straightforward when a failed seal is found early. If water has been present for months or years, locating the source and repairing the affected structure can become a far more involved job.
The most common motorhome leak causes
1. Aged or cracked roof sealant
Roof sealant is one of the first areas to inspect, particularly around seams and any item fixed through the roof. UV exposure can cause sealant to shrink, crack or lift at the edges. Water can then work underneath even where the surface appears mostly intact.
Do not assume a new layer of sealant over old material is always the right repair. Loose, contaminated or unsuitable sealant needs proper preparation first. The correct product also depends on whether the roof is aluminium, fibreglass, rubber or another material.
2. Skylights, roof vents and aerial mounts
Skylights and vents receive direct sun, wind and rain, while their plastic components can become brittle with age. A leaking roof hatch may show up as staining around a ceiling light or inside a nearby cupboard rather than directly below the hatch.
Check the outer flange, the sealant around it, the opening mechanism and any screws. An aerial, solar cable entry or satellite fitting also creates a penetration that deserves the same attention. These are small areas, but they are common motorhome leak causes because water only needs a narrow path inside.
3. Window seals and body-side mouldings
Windows can leak through hardened rubber seals, failed mastic behind the frame or small gaps around fasteners. Side mouldings and awning rails deserve attention too, as they often run along joins where water naturally drains.
A leak in this area may cause dampness under a window, a musty smell in a locker, or swelling in wallboard. Condensation on a cold morning is different from a leak, but repeated moisture in the same location should never be written off without checking the exterior.
4. Door, locker and garage hatch seals
Entry doors and exterior lockers are opened frequently, and their seals can flatten, tear or collect grit. Water can be forced past a tired seal while driving in rain, even if the compartment seems dry when the motorhome is parked.
Run a hand along the rubber seal and look for splits, hard spots and sections that have pulled away. Make sure doors and hatches close evenly. A misaligned latch can leave a surprisingly large gap at one corner.
5. Cracks around body joints or repairs
Motorhome bodies flex on uneven roads. Over time, movement can stress joints between panels, especially after a minor impact or a previous repair. Fine cracks near roof edges, cab-over sections, rear panels and marker lights need closer examination.
Not every surface crack allows water in, but it should be assessed rather than covered over. A quality repair addresses both the exterior finish and the water-tight integrity of the panel beneath it.
6. Plumbing leaks inside the vehicle
Not all leaks come from rain. Fresh-water lines, pump connections, hot-water systems, taps, shower fittings and waste hoses can all drip into cupboards or under flooring. These leaks may be more noticeable after using the shower or running the pump than after wet weather.
Turn off the taps and listen to the water pump. If it cycles periodically without demand, there may be a pressure loss somewhere in the system. Check beneath the sink, around the toilet, near the water heater and in external service compartments. A professional assessment is sensible where plumbing is difficult to access or water has reached electrical components.
7. Condensation mistaken for an exterior leak
New Zealand’s cooler months can bring substantial condensation, particularly in a tightly closed motorhome occupied overnight. Cooking, showering and breathing add moisture to the air, which settles on cold windows, metal frames and poorly ventilated corners.
Condensation still needs managing, as it can lead to mould and surface damage. Ventilation, a roof vent left safely open where appropriate, moisture control and allowing wet towels or clothing to dry outside the living area all help. The key distinction is pattern: condensation is usually widespread and linked to occupancy, while an exterior leak often returns in one specific area after rain.
8. Neglected maintenance after storage
A motorhome that has sat through winter can develop issues before its first trip. Leaves and debris hold water around roof fittings. Tree sap and grime hide cracking sealant. Long-term parking on an angle may also allow water to pool where it would normally drain away.
Before heading out, wash the exterior, inspect joints in good light and open every locker. Look, smell and feel for changes. Soft wallboard, lifting vinyl, rusty screw heads, distorted cabinetry, unexplained stains and a stale odour all warrant investigation.
How to check for water ingress safely
Start with a methodical visual inspection after washing and drying the motorhome. Work from the roof down, making a note of every seal, fitting and joint that looks tired. Inside, press gently around suspect areas rather than pushing hard enough to cause further damage.
A controlled hose test can help, but avoid using a high-pressure water blaster around seals, vents and windows. High pressure can force water into places normal rain would not reach and may damage sealant. Test one area at a time, with someone inside checking for moisture, so the source is easier to identify.
Moisture meters can be useful screening tools, particularly when buying or selling, but readings need context. Different wall materials and hidden wiring can affect results. For an older motorhome, one elevated reading is not automatically a deal-breaker. Its location, extent, cause and the quality of any repair plan are what matter.
What to do when you find a leak
First, limit further water entry. Cover the affected exterior area temporarily if rain is expected, remove wet items from inside and dry the area with ventilation and gentle airflow. Avoid simply sealing over damp materials, as trapped moisture can continue causing damage.
Then identify the source before committing to a repair. Water can travel a considerable distance, so the stain is not necessarily the entry point. A qualified RV repairer can assess hidden moisture, remove failed sealant correctly and advise whether surrounding timber, linings or insulation need attention.
Keep photographs, invoices and notes of the work completed. This is useful for your own maintenance record and gives future buyers confidence that an issue was handled transparently rather than concealed.
Leak checks when buying or selling
For buyers, a thorough inspection should be part of the decision-making process, not an afterthought once the keys are handed over. Ask about maintenance history, previous repairs and where the motorhome has been stored. Take time to inspect roof fittings, locker floors, window surrounds and internal corners in daylight.
For sellers, dealing with a known issue before listing can make the process more straightforward. Honest disclosure, clear repair documentation and a clean, dry presentation support buyer confidence. At RVfinders, the aim is always to help owners and buyers have the right conversations about condition, suitability and the practical realities of motorhome ownership.
A leak does not automatically mean walking away from a motorhome, nor does a tidy interior guarantee that one is dry. Give the vehicle the careful inspection it deserves, act on early signs, and you will be better placed to enjoy the next trip rather than spend it chasing damp patches.